Mail Merge-Ticket Creation
As a part of the creation of CHS fundraising tickets that can be used for school activities or clubs, such as SGA, Teacher Academy, Drama, etc.
Part A
Our example will be 100 tickets for the CHS fundraising event of your choice.
Open Microsoft Office Excel
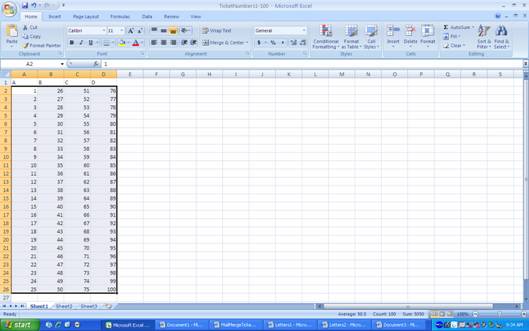
In this example you will want four tickets on a page and therefore will use four columns. If you were doing five tickets to a page, you would want to use 5 columns. Therefore, 100 divided by 4, is 25. You will need 1-25 numbers in the first column, 26-50 in the second column, 51-75 in the third column, and 76-100 in the fourth column.
The following are the column heading you will use.
In A1 TYPE A
In B1 TYPE B
In C1 TYPE C
In D1 TYPE D
In A2, TYPE 1, in A3 type 2, and in A4 type 3, then highlight and drag the box down to fill in the rest of the numbers to 25.
In B2, TYPE 1, in B3 type 2, and in B4 type 3, then highlight and drag the box down to fill in the rest of the numbers to 50.
In C2, TYPE 1, in C3 type 2, and in C4 type 3, then highlight and drag the box down to fill in the rest of the numbers to 75.
In D2, TYPE 1, in D3 type 2, and in D4 type 3, then highlight and drag the box down to fill in the rest of the numbers to 100.
SEE EXAMPLE:
SAVE YOUR FILE CORRECTLY, CREATING A FOLDER IN YOUR FOLDER FOR THE EVENT YOU ARE FUNDRAISING FOR.
For example FOR SGA: Create a FOLDER called SGA, now save your file in excel to that folder and call it TicketNumbers1-100 and close.
Remember if you do not have 2007 on another computer and will be doing the same work, save as the 97-2003 version, when you open the save as window choose the right file format.
Part B
Open Microsoft Word 2007.
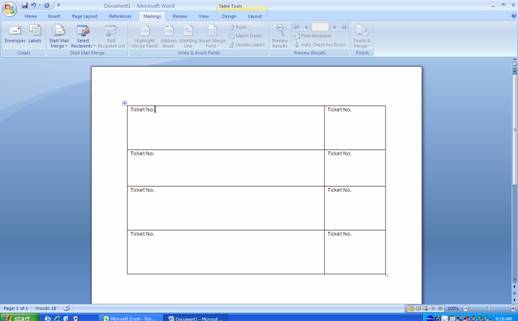
SEE EXAMPLE OF WHAT YOU WILL BE MAKING. Notice you have a portion of the ticket that will be torn off, you decide what part you keep and what part you give to person who purchased the ticket.
Insert a table, with 2 columns and 4 rows. Move the middle line to the left of right, depending what size you want the tear off portion to be.
Create your first ticket in the first row only. You don't want to have to go back and change four ticket, one is better to change.
In many cases the trick is to use text boxes, but not to many, usually only for your picture or your text. Use text wrapping to place your picture in back of the text, be sure to be careful and save your image else where on the page, because once you move your picture in the back you will not be able to edit it.
Once you have designed your ticket and in the case each should be 2 inches in width, copy your first row and copy and paste in row, 2, 3, and 4.
Make sure you type ticket number on both the ticket and the ticket stub. Leave enough room for your numbers, especially if you are doing up to 1000 tickets.
Part C
Now Mail Merge
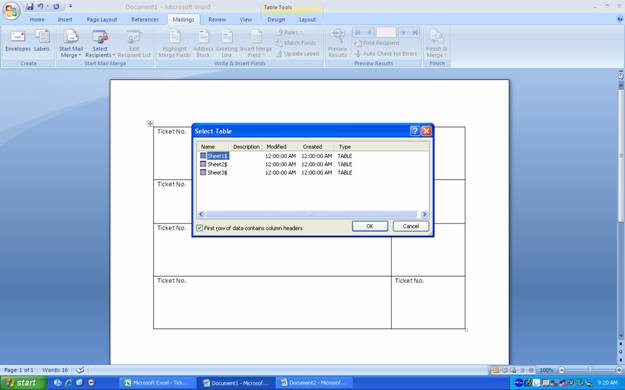
Click OK

If you click address fields, it is less work, but is demonstrated in the next lesson of Mail Merging Letter Documents.
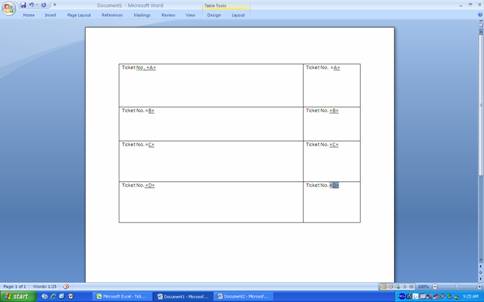
Insert Merge Field,
Click A, insert, close on both places on the first row of the tickets.
The second ticket would be B, the third ticket would be C, and the final ticket would be D.
See example below:
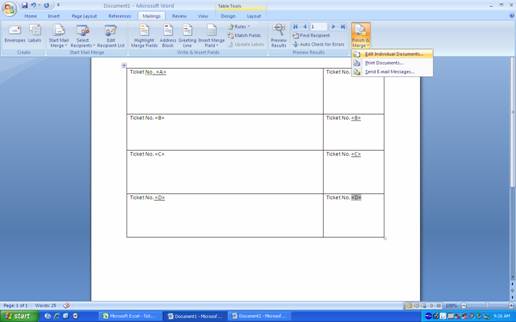
Finish Mail Merge, and Edit Individual documents.
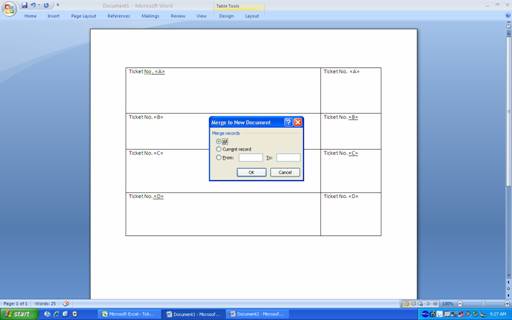 Select
all, click ok
Select
all, click ok
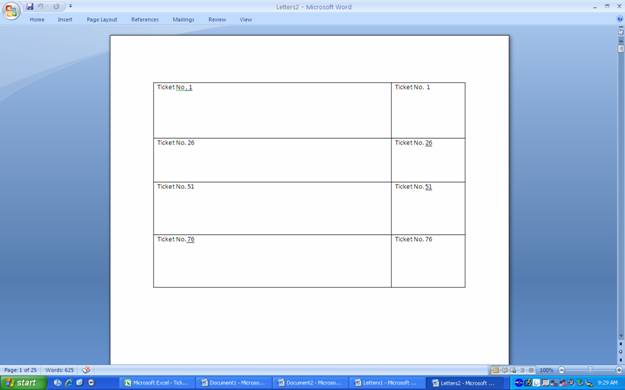
Now you have 25 pages, of pre-numbered tickets.
Part D
NOW we must staple and cut the tickets.
Lay them in order, count 5 sheets, and staple them on the right or left of each ticket. You will staple the portion you are to keep and then when you sell the tickets you will tear that section off.
Cut each ticket out and you will have a nice, pre-numbered tickets in order.